Sweetened Condensed Milk Snowball Cookies
- Time: Active 10 minutes, Passive 12 minutes, Total 22 minutes
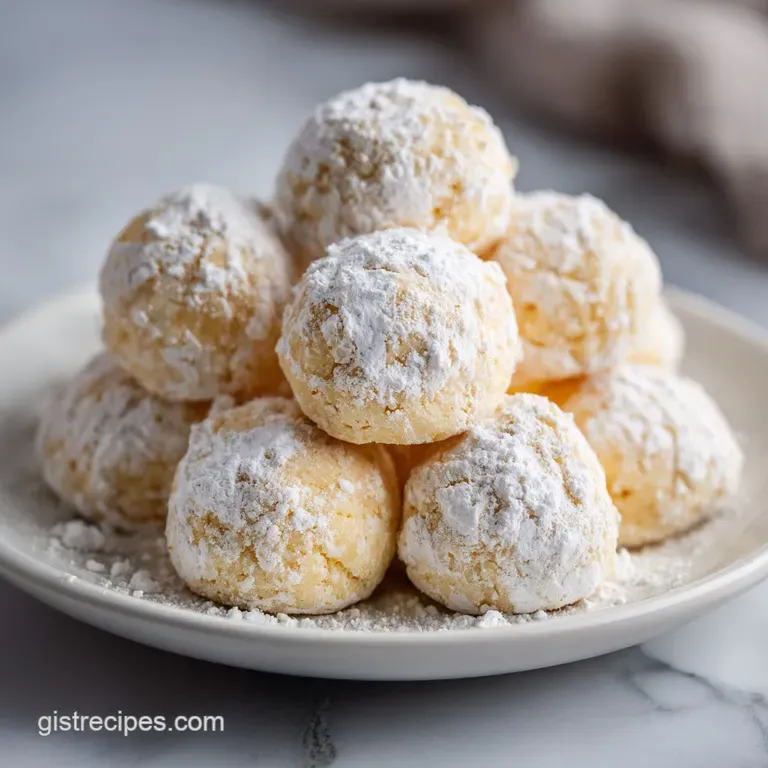
- Flavor/Texture Hook: Buttery, snow white orbs that shatter into a silky vanilla crumb
- Perfect for: Stress free holiday gifting or a quick weeknight treat
- Baking The Best Sweetened Condensed Milk Snowball Cookies
- The Secret To A Melt In-Your Mouth Texture
- Key Timing And Serving Size Information
- Selecting Quality Ingredients For Better Cookies
- Basic Kitchen Tools For Easy Baking
- Mastering The Technique Step By Step
- How To Fix Common Dough Problems
- Fun Variations For Different Holiday Flavors
- Maintaining Freshness And Texture After Baking
- Presentation Tips For Your Holiday Platter
- Recipe FAQs
- 📝 Recipe Card
Baking The Best Sweetened Condensed Milk Snowball Cookies
Have you ever bitten into a holiday snowball cookie only to have it feel like you're chewing on a sweetened chalk? I’ve been there more times than I care to admit. For years, I struggled with the traditional Russian tea cake or Mexican wedding cookie method.
They were either too dry and crumbled into dust before they reached my mouth, or they were so dense they felt like lead weights in my stomach. The problem was always the balance of fat and flour, and I just couldn't get that "shatter" effect right without making a huge mess.
Then I tried a little experiment with that half empty can of milky goodness sitting in my fridge. I realized that the secret wasn't just more butter, it was the way the sugar was delivered. By using sweetened condensed milk, we skip the gritty texture of granulated sugar entirely.
It acts as a pre emulsified binder that locks in moisture while keeping the crumb incredibly tender. The first time I pulled these out of the oven, the kitchen smelled like toasted vanilla and warm cream, and I knew I’d finally found the fix for the dreaded dry cookie.
These sweetened condensed milk snowball cookies are now my go to for every bake sale and holiday platter. They are remarkably stable, they don't spread into flat pancakes, and they have this gorgeous ivory center that looks beautiful against the white powdered sugar coating.
If you've been looking for a cookie that feels like a professional bakery made it but only takes 22 minutes total, this is your new best friend. We are going to get into the nitty gritty of why this works so well, but just know that your days of "hockey puck" cookies are officially over.
The Secret To A Melt In-Your Mouth Texture
Most people think that the key to a soft cookie is just underbaking it, but it’s actually about how the ingredients interact before they even hit the heat. We aren't just mixing things here; we are building a structure that is designed to be delicate.
- Sugar Suspension: Condensed milk keeps sugar molecules in a liquid state, ensuring they don't crystallize into a crunchy texture.
- Starch Tenderizing: Adding cornstarch to the flour lowers the overall protein content, which means less gluten can form when you stir.
- Emulsion Stability: The proteins in the milk act as a bridge between the fat in the butter and the starch in the flour, creating a velvety feel.
- Moisture Retention: Unlike plain sugar, the milk solids trap water during the bake, preventing the cookies from drying out too fast.
Serving Size Calculator
| Servings | Dough Amount | Pan Size | Bake Time |
|---|---|---|---|
| 12 People | 12 spheres | 1 small sheet | 12 minutes |
| 24 People | 24 spheres | 1 large sheet | 12 minutes |
| 48 People | 48 spheres | 2 large sheets | 15 minutes |
Choosing the right serving size helps you plan for big parties or just a quiet night in. Since these cookies don't spread much, you can fit quite a few on a single tray without them touching.
Just remember that if you double the batch, you might need to rotate your pans halfway through the bake to ensure the heat hits every cookie evenly.
Component Analysis
| Ingredient | Science Role | Pro Secret |
|---|---|---|
| Unsalted Butter | Provides fat for the "short" crumb | Soften but don't melt for the best air pockets |
| Condensed Milk | Acts as a humectant and sweetener | Scrape the can to get every drop of those solids |
| All Purpose Flour | Builds the essential structure | Spoon and level so you don't over pack the cup |
| Cornstarch | Disrupts gluten for a soft bite | Sift it with the flour to avoid tiny white clumps |
Adding cornstarch is one of those little tricks that separates a good cook from a great one. It basically turns your all purpose flour into something closer to cake flour, giving you that delicate "shatter" when you take a bite.
Key Timing And Serving Size Information
When we talk about cookies, timing is everything. For this recipe, you are looking at exactly 10 minutes of prep and 12 minutes of baking. That is it. It’s the perfect recipe for those "oh no, I forgot I had to bring a dessert" moments.
Because the total time is only 22 minutes, you really can’t afford to walk away from the oven.
I usually aim for a yield of 24 servings. Each cookie should be about a 1 inch sphere. This size is ideal because it allows the center to set before the bottom gets too dark. If you make them much larger, the outside will get tough before the inside is cooked through.
If you make them smaller, you risk turning them into little stones. Stick to the tablespoon sized scoop and you'll be golden.
Selecting Quality Ingredients For Better Cookies
Getting the ingredients right is the first step toward success. You don't need fancy brands, but you do need the right types of fats and flours.
- 1 cup (225g) unsalted butter, softened: Why this? Allows you to control the salt and ensures a rich, creamy flavor. Use a vegan butter stick if you need a dairy-free option, but the texture will be slightly oilier.
- 0.5 cup (150g) sweetened condensed milk: Why this? Provides moisture, fat, and sugar in one perfectly emulsified liquid. You can use coconut condensed milk for a dairy-free swap.
- 1 tsp pure vanilla extract: Why this? Adds the classic "holiday" aroma that lingers in the kitchen. Almond extract is a great substitute if you want a nuttier profile.
- 0.25 tsp fine sea salt: Why this? Cuts through the sweetness of the milk and enhances the butter. Table salt works but use slightly less.
- 2.25 cups (280g) all purpose flour, spooned and leveled: Why this? Provides the backbone of the cookie without being too heavy. A 1:1 gluten-free flour blend works well here too.
- 2 tbsp cornstarch: Why this? Softens the flour's protein for a velvety, melt away texture. Potato starch or arrowroot powder are fine alternatives.
- 1 cup (120g) confectioners' sugar: Why this? Created the iconic "snow" look and adds a final hit of sweetness. Granulated sugar won't work for the coating as it won't stick properly.
Basic Kitchen Tools For Easy Baking

You don't need a professional kitchen to make these, but a few specific tools make the process much smoother. I always recommend a stand mixer such as a KitchenAid or a powerful hand mixer.
These cookies rely on creaming the butter until it’s ivory colored, which takes more muscle than most of us want to use with a wooden spoon.
You will also want a couple of sturdy baking sheets and some parchment paper. I'm a big fan of parchment because it prevents the bottoms from browning too quickly, and it makes cleanup a breeze. A small cookie scoop (about 1 tablespoon size) is also a life saver for keeping all your snowball cookies the same size.
This ensures they all finish baking at the same time, so you don't end up with half burnt and half raw cookies.
Mastering The Technique step-by-step
- Cream the butter. Put the 1 cup of softened butter and 0.25 tsp sea salt into your mixer. Beat on medium high for 3 minutes until it looks like fluffy white frosting. Note: This air incorporation is what keeps the cookies light.
- Add the milk. Slowly pour in the 0.5 cup of sweetened condensed milk and 1 tsp vanilla. Mix on low speed until the liquid is fully combined and the mixture looks glossy.
- Sift the dry ingredients. Sift the 2.25 cups of flour and 2 tbsp cornstarch. Fold them in by hand using a spatula. Note: Hand folding prevents you from overworking the gluten.
- Prepare the oven. Preheat your oven to 350°F (180°C). Line two baking sheets with parchment paper so nothing sticks.
- Roll the dough. Scoop rounded tablespoons of dough. Roll between your palms to form 1 inch spheres that are smooth and round.
- Arrange the tray. Place the balls on the tray 2 inches apart. They won't spread much, but they need the airflow to bake evenly.
- Bake the cookies. Slide the trays in and cook for 12 minutes. Look for bottoms that are barely golden; the tops should still be pale.
- First sugar roll. Let the cookies cool for just 2 minutes. Roll in confectioners' sugar while they are still warm so the sugar sticks.
- Second sugar roll. Once they are completely cool, roll them in sugar again. Note: This creates the thick "snow" coating that looks so pretty.
- Set and serve. Let them sit for 10 minutes to allow the sugar to crust slightly before moving them to a plate.
How To Fix Common Dough Problems
The most common issue I see with snowball cookies is they either turn into puddles or they stay so hard you could use them as marbles. Usually, this comes down to how the flour was measured or the temperature of the butter. If your butter was too warm (almost melting), the dough will be greasy and won't hold its shape.
If you packed the flour into the measuring cup, they will be dry.
Troubleshooting Cookie Textures
| Problem | Root Cause | Solution |
|---|---|---|
| Flat Cookies | Butter was too soft or melted | Chill the dough for 30 minutes before rolling |
| Crumbly Dough | Too much flour added | Add 1 tablespoon of milk to bind it back together |
| Sugar Won't Stick | Cookies were too cold when rolled | Give them a quick 10 second zap in the microwave |
If you run into issues, don't panic! Most cookie dough problems are fixable. For instance, if you find the dough is sticking to your hands too much while rolling, just pop the whole bowl in the fridge for 15 minutes. It firms up the butter and makes it much easier to handle.
Common Mistakes Checklist
- ✓ Never use melted butter; it destroys the air structure you need for a soft bite.
- ✓ Don't skip the sifting; cornstarch loves to clump and will leave white spots in your cookies.
- ✓ Avoid over mixing the flour; stop the second you don't see any more white streaks.
- ✓ Check your oven temp with a thermometer; 350°F (180°C) is the sweet spot.
- ✓ Roll them in sugar while warm; if they cool completely, the "snow" won't adhere.
Fun Variations For Different Holiday Flavors
Once you have the base recipe down, you can really play with the flavors. I love adding a half cup of finely chopped pecans or walnuts to the dough to give it that traditional "wedding cookie" vibe.
If you want something a bit more tropical, try adding a splash of coconut extract and rolling the final cookie in a mix of powdered sugar and shredded coconut. It’s like a little vacation in a bite!
For a deeper, more indulgent flavor, you can even add a teaspoon of espresso powder to the dough. It won't make them taste like coffee, but it will make the butter and vanilla taste much richer. If you're planning a full dessert spread, these pair beautifully with homemade turtle bars. The contrast between the crunchy nuts and the soft snowball cookies is a real crowd pleaser.
Maintaining Freshness And Texture After Baking
Storage is where many people go wrong. Because these cookies are so tender, they can absorb moisture from the air and become soggy if left out. Always store them in an airtight container once they are completely cool. They will stay fresh on the counter for about 5 days.
If you find they've lost some of their "snowy" look, just give them a fresh dusting of powdered sugar before serving.
You can also freeze these! They freeze remarkably well for up to 3 months. I recommend freezing them after the first roll in sugar. When you're ready to eat them, let them thaw at room temperature and then give them that final second roll in confectioners' sugar. It makes them look brand new.
To keep the kitchen tidy, I use the scraps of parchment paper from baking to layer between the cookies in the container, which prevents the sugar from clumping together.
Presentation Tips For Your Holiday Platter
When it comes to serving these sweetened condensed milk snowball cookies, presentation is half the fun. They look best when piled high in a glass bowl or arranged on a dark platter to make the white sugar pop.
I like to add a few sprigs of fresh mint or some red berries around the base of the pile to give it a festive, wintery look.
These are the ultimate "companion" cookies. They aren't overly sweet, so they are perfect alongside a cup of tea or a hot cocoa. On a warm afternoon, they are actually incredible when paired with a quick caramel coffee. The bitterness of the coffee cuts right through the buttery richness of the cookie. Just make sure to have plenty of napkins nearby part of the charm of a snowball cookie is the inevitable dusting of sugar that ends up on your chin!

Recipe FAQs
What is the secret to soft snowball cookies?
Cream the butter and salt for a full 3 minutes. This process creates an ivory colored, whipped base that ensures a tender melt-in-your mouth crumb rather than a dense, heavy cookie.
What does adding condensed milk do to cookies?
It provides both moisture and a unique, dense texture. Unlike sugar alone, sweetened condensed milk acts as a liquid binder that keeps the centers soft while ensuring the dough remains glossy and smooth during the mixing phase.
What snowball flavors are good with condensed milk?
Pure vanilla extract is the ideal complement. Because the condensed milk already provides a rich, milky sweetness, a high-quality vanilla extract highlights those delicate notes without masking the natural flavor of the butter.
What is the best fat to use in snowball cookies?
Use unsalted butter, softened to room temperature. It provides the necessary structure and clean, rich flavor profile required for the shortbread like texture of these snowballs.
How to fix the dough if it becomes too crumbly?
Add 1 tablespoon of sweetened condensed milk to the mixture. This extra moisture will bind the ingredients together sufficiently, allowing you to form 1 inch spheres without the dough falling apart in your hands.
Is it true that I must chill the dough for hours?
No, this is a common misconception. You only need to chill the dough for 30 minutes if your butter was too soft and the cookies are spreading or becoming flat during the baking process.
How to ensure the confectioners' sugar coating stays on?
Roll the cookies while they are still slightly warm. If the cookies have cooled completely and the sugar isn't sticking, give them a quick 10-second zap in the microwave to soften the surface before coating.
Condensed Milk Snowball Cookies

Ingredients:
Instructions:
Nutrition Facts:
| Calories | 152 kcal |
|---|---|
| Protein | 1.7 g |
| Fat | 8.3 g |
| Carbs | 17.8 g |
| Fiber | 0.3 g |
| Sugar | 8.3 g |
| Sodium | 32 mg |
