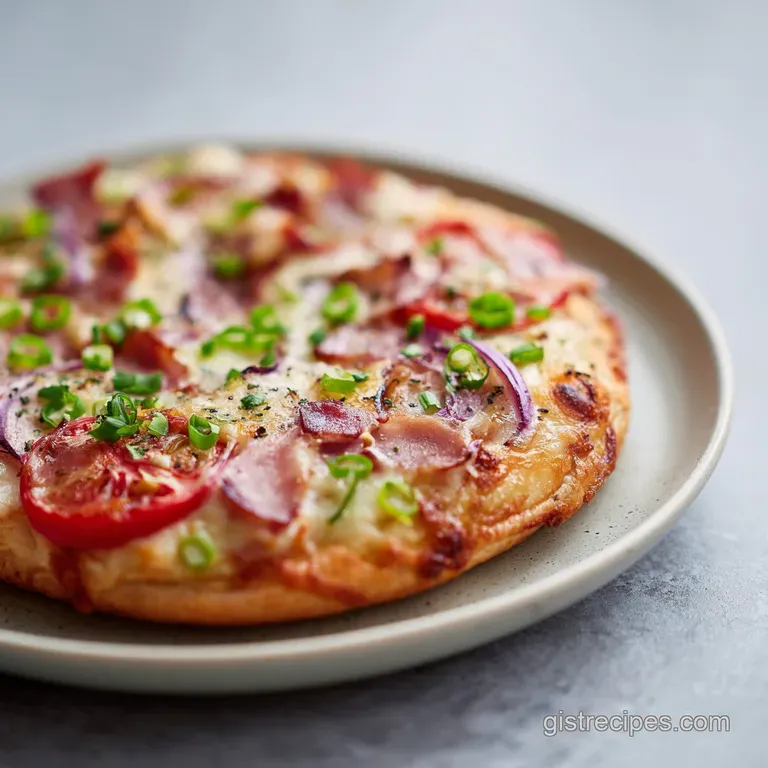
Easy Thin Crust Pizza Dough Recipe
- Time: Active 15 minutes, Passive 0 minutes, Total 25 minutes
- Flavor/Texture Hook: Shatter crisp base with a velvety cheese finish
- Perfect for: Friday family nights or a beginner friendly kitchen win
- Mastering the Art of Easy Thin Crust Pizza
- The Architecture of the Crunch
- Essential Metrics for Golden Results
- Choosing Quality Elements for Flavor
- Tools for a Professional Finish
- The Rhythm of Crafting Your Dough
- Solving Common Dough and Texture Issues
- Customizing Your Base and Toppings
- Kitchen Wisdom and Myths
- Keeping Your Slices Fresh and Crispy
- Flavorful Sides to Complete the Meal
- Recipe FAQs
- 📝 Recipe Card
Mastering the Art of Easy Thin Crust Pizza
There is a specific sound that defines a successful kitchen evening that sharp, rhythmic "crack" as a pizza wheel slices through a base so thin it almost shatters. I remember my first attempt at homemade dough; it was a soft, bready cushion that tasted more like a dinner roll than a pizzeria staple.
It was comforting, sure, but it wasn't what I craved. I wanted that browned, bubbly crust that holds its shape when you pick up a slice, rather than flopping sadly under the weight of the cheese.
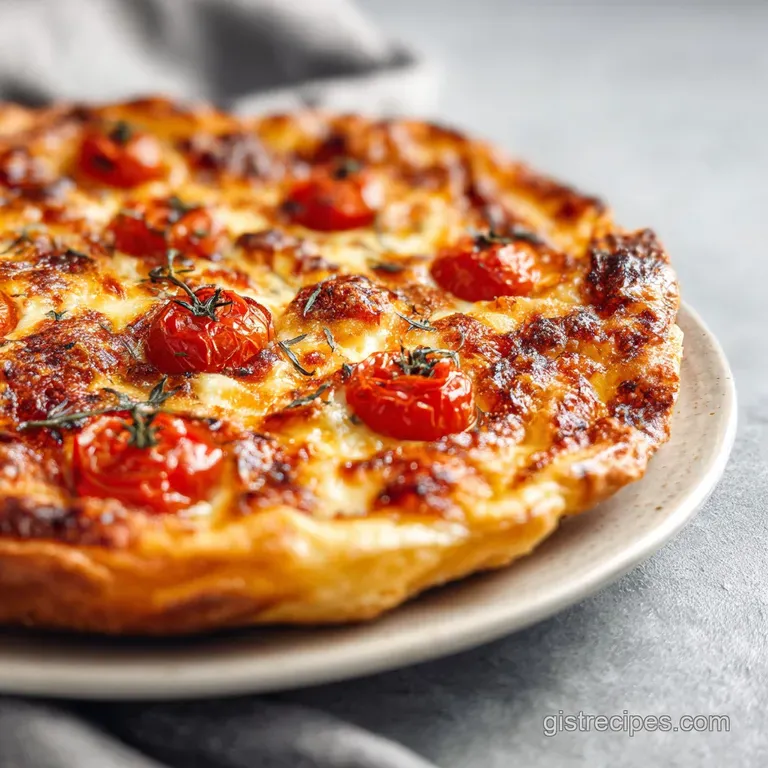
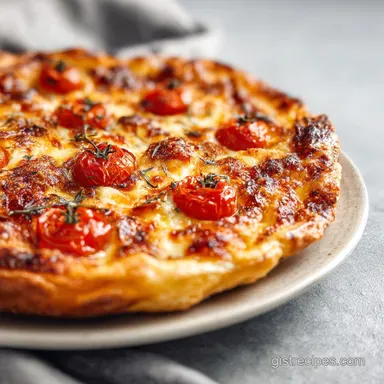
After years of tinkering in my own kitchen, I realized the secret wasn't some fancy imported oven or a secret sourdough starter. It was actually about restraint. By keeping the moisture low and the rolling pin moving, I finally achieved that hearty, golden brown finish that reminds me of the simple pizzas we used to share at my aunt’s crowded kitchen table.
This easy thin crust pizza is a tribute to those family classics where the focus is on the crunch and the quality of the company.
We've all been there, staring at a ball of dough that refuses to stretch. But this recipe is different. It’s designed for the home cook who wants results now, not in three days.
We aren't looking for massive, airy bubbles here; we are looking for a sturdy, flaky foundation that supports a velvety layer of mozzarella and a punchy sauce. Let’s look at why this specific method works so well for our home ovens.
The Architecture of the Crunch
Science: Low Hydration Ratios: By using less water relative to the flour, we limit gluten development, which prevents the dough from becoming overly chewy or bread like.
Science: Starch Gelatinization Control: Rolling the dough thin forces the moisture to evaporate rapidly in the high heat of the oven, allowing the starches to set into a rigid, crispy structure before they can puff up.
| Cook Method | Time | Texture | Best For |
|---|---|---|---|
| Standard Oven (200°C) | 10-12 mins | Evenly golden, firm base | Traditional family dinner |
| Stovetop to Broiler | 8 mins | Charred bottom, bubbly top | Mimicking wood fired style |
| Convection/Fan Oven | 9 mins | Superbly crisp edges | Extra "shatter" factor |
Choosing the right method depends on your equipment, but the oven remains the most reliable way to ensure the heat penetrates the dough evenly. If you find yourself craving a different twist on a quick meal, you might enjoy the bold flavors in this Mexican Pizza Recipe which uses a similar focus on texture.
Essential Metrics for Golden Results
When we talk about grandma’s kitchen, we often think of "a pinch of this" and "a dash of that." However, for this specific texture, we need a bit of precision. The balance between the oil and the flour is what gives us that tender yet crispy bite.
Too much oil and it becomes a shortcrust pastry; too little and it’s a cracker.
| Ingredient | Science Role | Pro Secret |
|---|---|---|
| All Purpose Flour | Provides structure | Weighing it ensures the dough isn't too dry or sticky |
| Extra Virgin Olive Oil | Inhibits long gluten strands | Use a high-quality oil for a nutty, toasted aroma |
| Fine Sea Salt | Strengthens gluten bonds | Dissolve it in the water first for even distribution |
This component analysis shows that even the simplest ingredients have a job to do. When these elements hit the hot steel of your baking sheet, they transform into a platform for whatever toppings your family loves most. It’s a hearty, honest way to cook that focuses on the basics done well.
Choosing Quality Elements for Flavor
Right then, let's look at what we need. I always suggest using low moisture mozzarella. Fresh buffalo mozzarella is beautiful, but it releases too much water for a thin crust, leading to the dreaded soggy middle.
Stick to the block cheese and shred it yourself; the pre shredded stuff is coated in potato starch which prevents that velvety melt we're after.
- 325g All purpose flour: The backbone of our crust. Why this? AP flour provides the middle ground protein content needed for a crisp, non chewy bite.
- Substitute: Bread flour (results in a slightly chewier, more "New York" style bite).
- 180ml Warm water: Activates the yeast. Why this? Water at 40°C ensures the yeast wakes up without being scalded.
- Substitute: Room temperature beer (adds a fermented, earthy depth to the dough).
- 3g Instant yeast: Our lifting agent. Why this? Instant yeast doesn't require proofing, saving us time in the kitchen.
- Substitute: Active dry yeast (must be dissolved in the warm water for 5 minutes first).
- 4g Granulated sugar: Food for the yeast. Why this? Sugar also assists in the Maillard reaction for a browned crust.
- Substitute: Honey (adds a floral note and helps with browning).
- 6g Fine sea salt: Flavor and strength. Why this? Fine grains distribute perfectly through the dry ingredients.
- Substitute: Kosher salt (use 1.5 tsp to account for the larger grain size).
- 30ml Extra virgin olive oil: For tenderness. Why this? Oil coats the flour particles, preventing them from absorbing too much water.
- Substitute: Melted butter (creates a richer, almost biscuit like crust texture).
- 120ml Pizza sauce: The flavor layer. Why this? A thick sauce prevents the dough from hydrating during the bake.
- Substitute: White Pizza Sauce recipe for a creamy, garlicky alternative.
- 170g Low moisture mozzarella: The classic topper. Why this? Shredding it fresh ensures a superior, stretchy melt.
- Substitute: Mild provolone (adds a slightly sharper, tangy finish).
Tools for a Professional Finish
You don't need a professional kitchen to make a great pizza, but a few specific tools make the process much smoother. I personally swear by a heavy rolling pin. Since this dough is low moisture, it has some "snap back," and a sturdy pin helps you win the battle of the stretch.
- Large mixing bowl: Give yourself space to work the flour.
- Rolling pin: Essential for achieving that uniform, thin profile.
- Baking sheet or Pizza stone: If using a sheet, choose a heavy duty one that won't warp at 200°C.
- Pizza cutter: A sharp wheel is much better than a knife for keeping the toppings in place.
- Parchment paper: This is my "cheat" for easy cleanup and preventing the dough from sticking to the counter.
Chef Tip: If you don't have a pizza stone, flip a heavy baking tray upside down and preheat it in the oven. Sliding your pizza onto the hot back of a tray gives you an instant hit of heat that crisps the bottom immediately.
The Rhythm of Crafting Your Dough
The process of making this easy thin crust pizza is almost meditative. We are building flavor in layers, starting with the yeast and ending with the sizzle of the cheese. Trust the process, even if the dough feels a bit firmer than what you're used to. That firmness is exactly what will turn into a "shatter" later on.
- Combine dry ingredients. Whisk 325g flour, 3g yeast, 4g sugar, and 6g salt in your large bowl. Note: This ensures the yeast and salt are evenly distributed before adding liquids.
- Add wet ingredients. Pour in 180ml warm water and 30ml olive oil. Note: The oil should be added with the water to help it coat the flour quickly.
- Mix until shaggy. Use a sturdy spoon to bring the ingredients together until no dry flour remains.
- Knead briefly. Turn the dough onto a lightly floured surface and knead for 3-5 minutes until the surface is relatively smooth. Note: We aren't looking for a windowpane test here, just a cohesive ball.
- Rest the dough. Cover the ball with the bowl and let it sit for 10 minutes. Note: This allows the gluten to relax, making the rolling process much easier.
- Preheat and prepare. Set your oven to 200°C and place your baking sheet inside to get hot.
- Roll it out. Divide the dough if making multiple pizzas, then roll it until it is roughly 3mm thick. Note: It should be almost translucent when held up to the light.
- Dock the dough. Use a fork to prick holes across the entire surface of the rolled dough. Note: This prevents large steam bubbles from lifting the toppings.
- Add the layers. Spread 120ml sauce thinly, then top with 170g of freshly shredded mozzarella.
- Bake the pizza. Slide the dough onto the hot tray and bake for 10 minutes until the cheese is bubbly and the edges are browned.
Solving Common Dough and Texture Issues
Even with the best intentions, dough can be temperamental. It’s influenced by the humidity in your kitchen and even the brand of flour you use. If things aren't looking quite right, don't worry most pizza problems are easily fixed with a little adjustment.
Reasons for Dough Shrinkage
If your dough keeps snapping back like a rubber band when you try to roll it, it’s simply too tense. The gluten has been worked but hasn't had time to "forget" its shape. Just walk away for five minutes.
Give it a rest, and when you come back, the proteins will have relaxed, allowing you to roll it much thinner without resistance.
Preventing a Soggy Middle
A soggy center usually comes from one of two things: too much sauce or too much moisture in the cheese. When using this recipe, remember that less is more. Because the crust is so thin, it can't support a heavy lake of tomato sauce. Keep the sauce layer thin enough that you can almost see the dough through it in spots.
| Problem | Root Cause | Solution |
|---|---|---|
| Crust is tough/hard | Over kneading | Knead only until smooth, not for 10+ minutes |
| Bottom is pale/soft | Cold baking surface | Preheat your tray or stone for at least 15 mins |
| Cheese is oily/separated | Pre shredded cheese | Use block mozzarella and shred it yourself |
Common Mistakes Checklist
- ✓ Never skip the "docking" step; those fork pricks are vital for a flat, crispy base.
- ✓ Avoid using "00" flour for this specific recipe; it requires much higher heat than most home ovens provide.
- ✓ Don't load the center with heavy toppings like raw peppers or onions; they release water as they cook.
- ✓ Ensure your oven is fully preheated; a lukewarm oven will result in a dry, cracker like crust rather than a crispy one.
Customizing Your Base and Toppings
While we love a classic cheese pizza, sometimes you want to dress things up. For a more robust flavor, I often add a teaspoon of dried oregano directly into the flour before mixing. It seasons the dough from the inside out, giving it that "pizzeria aroma" that fills the whole house.
If you find yourself with extra dough or want a different experience, you could even try a Garlic Bread Pizza recipe using this same base. It’s a hearty way to use up leftover cheese and makes a great side dish for a big family pasta night.
| Servings | Flour Amount | Water Amount | Pan Size |
|---|---|---|---|
| 4 People | 162g | 90ml | 1 Medium tray |
| 8 People | 325g | 180ml | 2 Medium trays |
| 12 People | 487g | 270ml | 3 Medium trays |
When scaling up, remember my rule for spices and salt: only increase them by about 1.5x for every double of the recipe to prevent the dough from becoming overly salty. The water and flour, however, should be scaled exactly to maintain that crucial hydration ratio.
Kitchen Wisdom and Myths
There’s a common misconception that you need a "cold ferment" (letting dough sit in the fridge for days) to get flavor. While that’s true for thick, chewy breads, for a thin crust, the flavor comes from the browning of the flour and the quality of your olive oil.
You don't need to wait 48 hours to enjoy a fantastic meal.
Another myth is that you must use high protein bread flour. In grandma’s kitchen, we used what was in the pantry, which was usually all purpose. AP flour actually makes a more tender thin crust because it has less gluten than bread flour. It results in a "short" texture that snaps rather than pulls.
Keeping Your Slices Fresh and Crispy
This easy thin crust pizza is best enjoyed immediately while the cheese is still molten and the base is at its peak crispness. However, if you have leftovers, avoid the microwave at all costs it will turn your beautiful crust into a soggy, chewy mess.
Storage: Keep leftover slices in an airtight container in the fridge for up to 3 days. To reheat, place them in a dry skillet over medium heat for 2-3 minutes. This crisps the bottom back up perfectly while the cheese softens.
Zero Waste: If you have small scraps of dough left over after trimming your circles, don't toss them! Roll them into thin strips, brush with olive oil and cinnamon sugar, and bake them alongside the pizza for a quick "dessert stick" that the kids will love.
Flavorful Sides to Complete the Meal
A thin crust pizza is light enough that it begs for a hearty side dish. In our house, we usually serve this with a big, crisp green salad tossed in a sharp vinaigrette to cut through the richness of the cheese.
If you're looking for something more substantial, it pairs beautifully with a Ricotta Stuffed Shells recipe for a full Italian feast. The contrast between the soft, creamy pasta and the sharp shatter of the pizza crust is truly comforting. For a meatier option, a slice of this pizza alongside a small serving of French Onion Meatloaf recipe makes for a surprisingly hearty and satisfying winter dinner. Whatever you choose, the key is to keep the focus on family, flavor, and that unmistakable crunch.

Recipe FAQs
What is the secret to thin crust pizza?
Low dough hydration and rapid, high heat. Keeping the water content low prevents the dough from puffing up like bread, forcing the starches to set into a rigid, crispy structure during the quick bake.
How to do thin crust pizza at home?
Preheat your baking surface (tray or stone) inside the oven to 200°C for at least 15 minutes. Roll the dough extremely thin, dock it thoroughly with a fork, apply toppings sparingly, and immediately slide it onto the hot surface for a quick bake.
Is pizza dough ok for diabetics?
No, traditional pizza dough is generally not ideal for diabetics due to refined carbohydrates. Focus on using whole wheat flour for higher fiber content, and keep the crust very thin to reduce the overall carbohydrate load per serving.
Is pizza bad for LDL cholesterol?
It depends entirely on the toppings and cheese used, not the crust itself. High amounts of saturated fat from processed meats and full fat cheeses negatively impact LDL; use lean protein and low-moisture mozzarella instead.
Why is my homemade thin crust dough shrinking back when I roll it?
No, the dough is tense because the gluten hasn't relaxed sufficiently. Cover the dough ball and let it rest for an additional five to ten minutes; this crucial downtime allows the gluten network to loosen, making rolling effortless.
Should I use low-moisture mozzarella or fresh mozzarella?
No, always use low-moisture mozzarella for thin crust. Fresh mozzarella contains too much water, which steams the delicate crust during baking, resulting in a soggy center instead of the desired crispness.
Is it true I must use a pizza stone to get a crispy bottom?
No, this is a common misconception. You can achieve excellent crispness by preheating a heavy duty metal baking sheet upside down for 15 minutes; this provides the necessary thermal shock to the dough base, similar to how you master heat transfer in our Asian Garlic Shrimp Recipe.
Easy Thin Crust Pizza Recipe
Ingredients:
Instructions:
Nutrition Facts:
| Calories | 251 kcal |
|---|---|
| Protein | 9.3 g |
| Fat | 8.4 g |
| Carbs | 33.2 g |
| Fiber | 1.4 g |
| Sugar | 1.2 g |
| Sodium | 485 mg |
