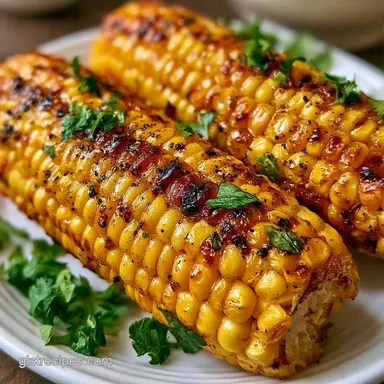
Grilled Corn on the Cob in 27 Minutes
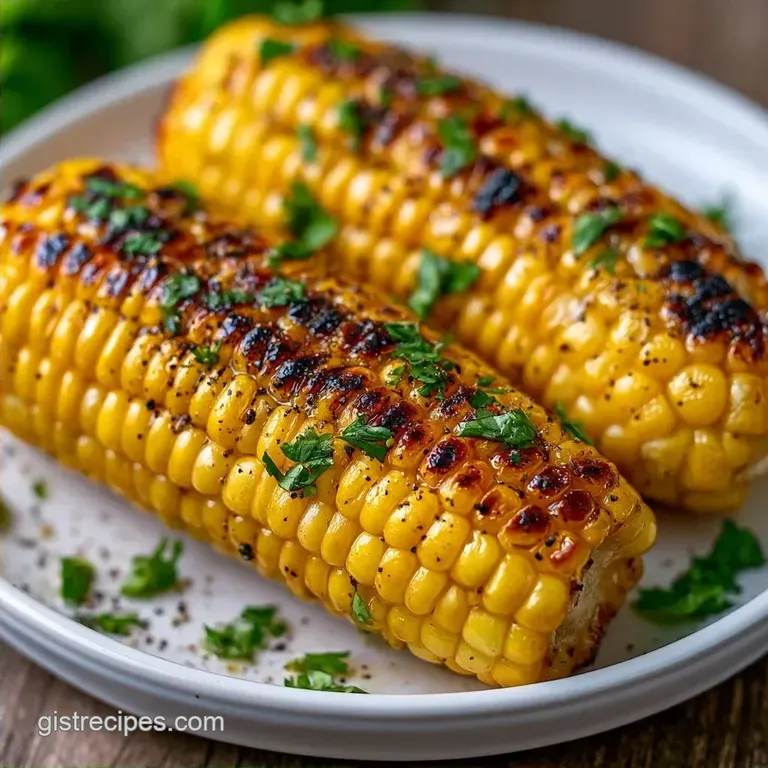
- Time: 15 min active + 20 min grilling
- Flavor/Texture Hook: Smoky char with a salty, creamy finish
- Perfect for: Summer BBQs, steakhouse style sides, or family dinners
Grilled Corn on the Cob Guide
Ever wonder why restaurant corn tastes like it was kissed by a campfire while home corn often just tastes boiled? I used to think it was some fancy industrial grill, but it actually comes down to how the heat hits the sugar in the kernels.
The snap of a perfectly charred ear of corn is one of my favorite sounds of summer. When you get that mahogany color on the outside but keep the inside juicy, you've hit the sweet spot.
We're skipping the boiling pot entirely here. We'll go straight for the grates to get those distinct grill marks and a deep, savory flavor that makes this the best way to serve corn.
Quick Recipe Specs
Getting the temperature right is half the battle. You want a medium high heat that sizzles immediately. If the grill is too cool, the corn steams and gets chewy instead of charring.
I usually aim for a steady 400°F (200°C). This ensures the kernels pop and brown within 12 minutes. If you see the corn turning pale yellow without any spots, crank up the heat.
Right then, let's look at the basic requirements for this side dish.
Gathering Your Corn Essentials
The quality of the corn determines the result. I always look for husks that are bright green and tight, not yellowed or loose. If the husk feels dry, the corn inside is likely starchy and lacking that natural snap.
I prefer using neutral oil for the first coat. Butter has milk solids that burn too quickly at 400°F, so using oil first creates a protective barrier that lets the corn brown without tasting like burnt toast.
For the finishing touch, Cotija cheese provides a salty, funky contrast to the sweetness of the corn. If you can't find it, crumbled feta works as a decent alternative.
Essential Grilling Tools
You don't need a professional setup, but a few specific tools help. A grill brush is mandatory to clear off old residue so your corn doesn't pick up flavors from last week's burgers.
Tongs are better than a fork here. You want to rotate the corn quickly every few minutes without piercing the kernels, which would let the juices leak out.
I also recommend a silicone brush for the oil and butter. It's easier to clean and ensures a thin, even layer across every row of kernels.
Cooking From Prep to Plate
Preparing the Corn
Shuck the corn and strip away any leftover silks. Dry each ear thoroughly using a paper towel. Note: Any surface moisture will cause steaming, which hinders a deep char.
Coat each ear lightly with a neutral oil. This prevents sticking and allows for a more even heat distribution.
Achieving the Char
Set your grill to medium-high heat (roughly 400°F / 200°C).
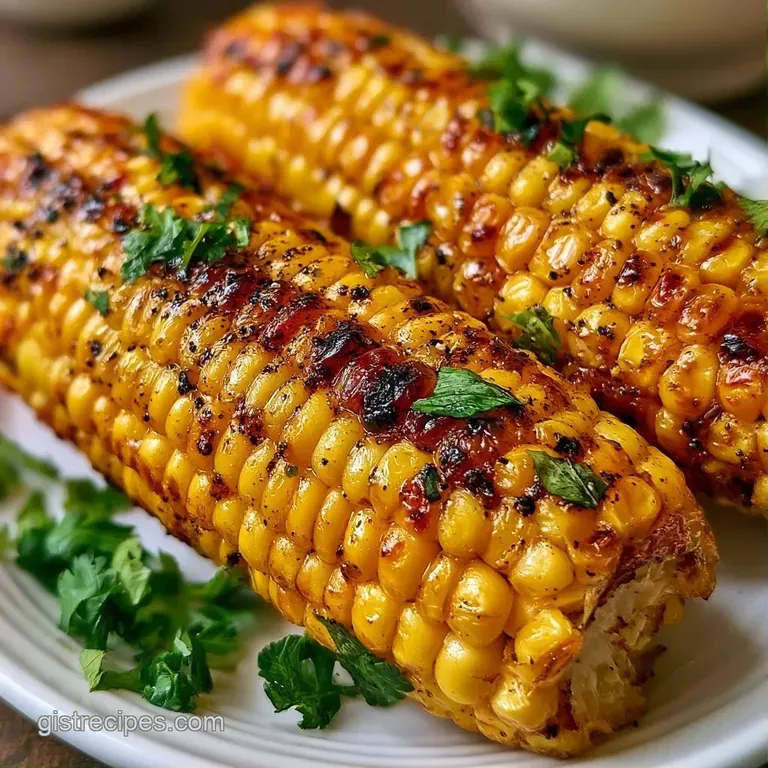
Lay the corn directly on the grill grates. Cook for 10–12 minutes, rotating every 2–3 minutes until the kernels are a bright gold with dark, caramelized spots.
The Finishing Touch
During the final 2 minutes of cooking, brush softened butter over the hot corn.
Remove from the grill and season immediately with cracked black pepper and kosher salt.
Garnish with lime wedges, fresh chopped cilantro, and either feta or Cotija cheese.
Fixing Common Grilling Issues
When corn comes off the grill feeling like rubber, it's usually a timing or freshness issue. Overcooking the corn dries out the internal moisture, leaving you with a chewy texture.
Burnt exteriors with raw centers happen when the grill is screaming hot but the corn is too thick. The outside chars instantly, but the heat never reaches the core.
For Corn That Is Too Chewy
Reduce your grill time by 2 minutes. Ensure you're using fresh corn with plump kernels.
For Burnt Exteriors
Lower the heat to medium and increase the rotation frequency to every 2 minutes.
For Sticking Kernels
Use more neutral oil during the prep phase and ensure the grates are well oiled before the corn touches them.
| Problem | Root Cause | Solution |
|---|---|---|
| Rubbery Texture | Overcooked | Grill for 2 minutes less |
| Blackened/Burnt | Heat too high | Lower to medium high |
| Pale/No Char | Heat too low | Increase to 400°F/200°C |
Corn Flavor Variations
If you want something different, try a garlic herb infusion. Mix softened butter with minced garlic and parsley, then brush it on during the final 2 minutes. It gives the corn a savory, steakhouse vibe.
For a more spicy kick, rub the charred corn with a mix of chili powder and smoked paprika before adding the cheese. This leans into the street corn style.
If you're in a rush, you might want to check out my Cob in 12 Minutes recipe guide for a faster approach.
For a Vegan Version
Swap the butter for a high-quality vegan butter or extra olive oil. Use a dairy-free almond based feta for the topping.
For a Smoky Twist
Add a drop of liquid smoke to the neutral oil before brushing. It mimics the flavor of a wood fired grill even if you're using a gas setup.
| Goal | What to change |
|---|---|
| Extra Spice | Add chili powder/paprika |
| Garlic Punch | Use garlic infused butter |
| Tangier Taste | Increase lime juice |
Storage and Reheating
Grilled corn loses its crispness over time. Store leftovers in a sealed container in the refrigerator for up to 3 days. To avoid sogginess, I recommend removing the cilantro and cheese before storing.
When reheating, stay away from the microwave to prevent the corn from becoming mushy. Instead, use a hot grill or bake at 350°F (180°C) for 5-10 minutes.
If you have a surplus, cut the kernels off the cob and freeze them in a bag for up to 3 months. These are perfect for stirring into winter soups or chowders.
To minimize waste, keep the cobs. Simmer them in water with carrots and onion scraps to whip up a simple vegetable stock.
Serving and Presentation
I suggest serving this on a spacious wooden platter. Arrange the corn ears in a crisscross pattern and scatter the remaining Cotija and cilantro over the top to achieve a rustic, effortless look.
The lime wedges are essential, not just decorative. Adding a splash of fresh lime just before eating balances out the heavy richness of the butter and cheese.
This side is a wonderful match for my Mexican Cornbread recipe if you're planning a themed feast. Alternatively, a crisp garden salad offers a refreshing contrast to the smoky flavors.
Chef's Note: For a professional touch, use a wide brush to swipe a streak of sriracha mayo across the plate before arranging the corn.
Why This Method Works
The secret lies in how the corn's sugars react to the searing heat. By stripping away the husks, the kernels caramelize directly, producing a nutty richness that boiling simply can't replicate.
Oil First: Starting with oil before adding butter stops the milk solids from scorching, ensuring a clean, savory taste.
Direct Heat: Intense heat develops a perfect balance between a charred outer layer and a tender, succulent inside.
Now you're all set. Just make sure to rotate the corn frequently on the grill for the most delicious Grilled Corn on the Cob your guests have ever had. Believe me, that char is where the real flavor is found.
Recipe FAQs
How long does corn stay on the grill?
Grill for 10–12 minutes, turning every 2–3 minutes.
Tip: Look for kernels that are vibrant gold with dark brown caramelized spots.
Should you grill corn in foil or on grates?
Grill directly on the grates for the best charred flavor and texture.
Tip: Brush with neutral oil first to keep the kernels from sticking.
Is it true that soaking corn in water is necessary?
False. Direct grilling creates a better char without adding excess moisture.
Tip: Pat the corn completely dry with a paper towel to ensure a better sear.
How to prepare fresh sweet corn for grilling?
Remove husks and all remaining silks from the cob.
Tip: Use a clean paper towel to wipe away any stubborn threads.
Which flavor additions work best with grilled corn?
Sprinkle with kosher salt, cracked black pepper, and top with lime wedges and Cotija cheese.
Tip: These bold flavors pair well with Mexican refried beans for a complete meal.
Could applying butter before grilling be the secret?
Not true. Butter burns quickly at high heat and should be applied at the end.
Tip: Brush softened butter on the kernels during the last 2 minutes of cooking.
Grilled Corn on the Cob for 4 Servings