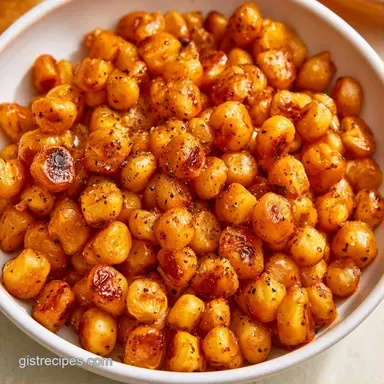
Quick and Charred Skillet Corn
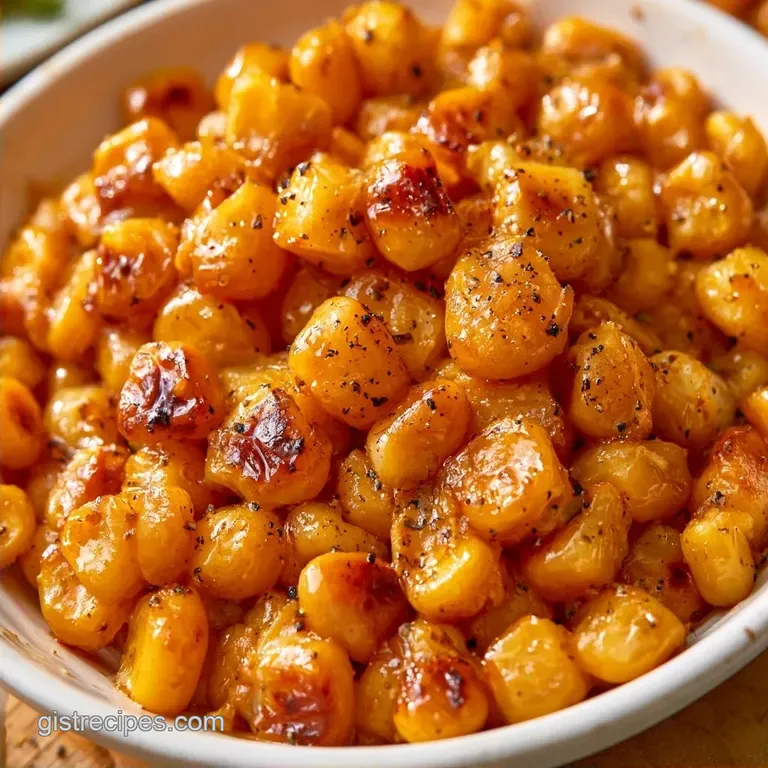
- Time: 5 minutes prep + 10 minutes cooking
- Key Appeal: Charred, buttery kernels with a zesty finish
- Perfect for: Fast weeknight sides or BBQ crowds
The scent of browning butter and toasted corn always brings back memories of those lively summer parties in the South. There, corn is more than just a side; it’s a centerpiece. Whether it's fresh from a roadside stand or pulled from a freezer bag, the goal is always a deep, caramelized brown.
I used to boil my corn, which is fine but uninspiring. Switching to a heavy pan changed everything, creating those intense, concentrated flavors that emerge when the corn's sugars hit a searing surface.
This Skillet Corn is built on contrast: the pop of the kernel, the richness of the butter, and a bright hit of lemon at the end to balance the heaviness. It's a quick win that tastes like it required far more effort.
The One Thing That Changes Everything
- High Starting Heat: A shimmering pan prevents the corn from releasing too much moisture, ensuring a crisp sear rather than a soggy texture.
- The Fat Blend: Mixing oil with butter prevents the butter from scorching at the high temperatures needed for a proper Skillet Corn char.
- The Undisturbed Sear: Leaving the kernels alone for a few minutes allows the sugars to brown. Stirring too often lowers the pan temperature and destroys the crust.
Success comes down to a balance of heat and patience. By letting the corn sit, you develop a mahogany crust that tastes like it was cooked over a grill.
| Source | Texture | Prep Time | Taste |
|---|---|---|---|
| Fresh Corn | Snappy and juicy | High | Naturally sweet |
| Frozen Corn | Slightly softer | Low | Consistent and clean |
| Canned Corn | Softest | Lowest | Salty and savory |
Now, before we go over the equipment, let's examine the process taking place in the pan.
The Ingredient Breakdown
| Component | Purpose | Substitute Notes |
|---|---|---|
| Corn Kernels | Primary base | Frozen works; just avoid thawing first |
| Unsalted Butter | Flavor and browning | Ghee for a higher smoke point |
| Fresh Lemon Juice | Balances the richness | Lime juice for a Mexican twist |
| Garlic | Savory depth | Garlic powder for a quick fix |
- 4 cups (600g) corn kernels Why this? Provides the sweetness and substance
- 3 tbsp (42g) unsalted butter Why this? Creates that characteristic nutty flavor
- 1 tbsp (15ml) olive oil Why this? Increases the butter's heat tolerance
- 2 cloves (6g) garlic, minced Why this? Adds a bold, aromatic layer
- 1/4 tsp (1.5g) kosher salt Why this? Heightens the overall taste
- 1/4 tsp (1g) freshly cracked black pepper Why this? Provides a gentle, woody warmth
- 1 tbsp (15g) fresh parsley, finely chopped Why this? A fresh contrast to the richness
- 1 tsp (5ml) fresh lemon juice Why this? Adds a bright, zesty finish
Essential Kitchen Gear
Choose a pan that retains heat well. A 12 inch cast iron skillet is the best choice here, as it prevents the temperature from dipping when the corn hits the pan. A heavy stainless steel pan is a good alternative, but try to avoid non-stick; these often struggle to hit the high heat needed for that signature deep char.
I also recommend a wide spatula. This lets you move the corn in large batches rather than stirring it into a mash. Aside from that, you'll just need a sharp knife or microplane for the garlic.
Step by step Guide
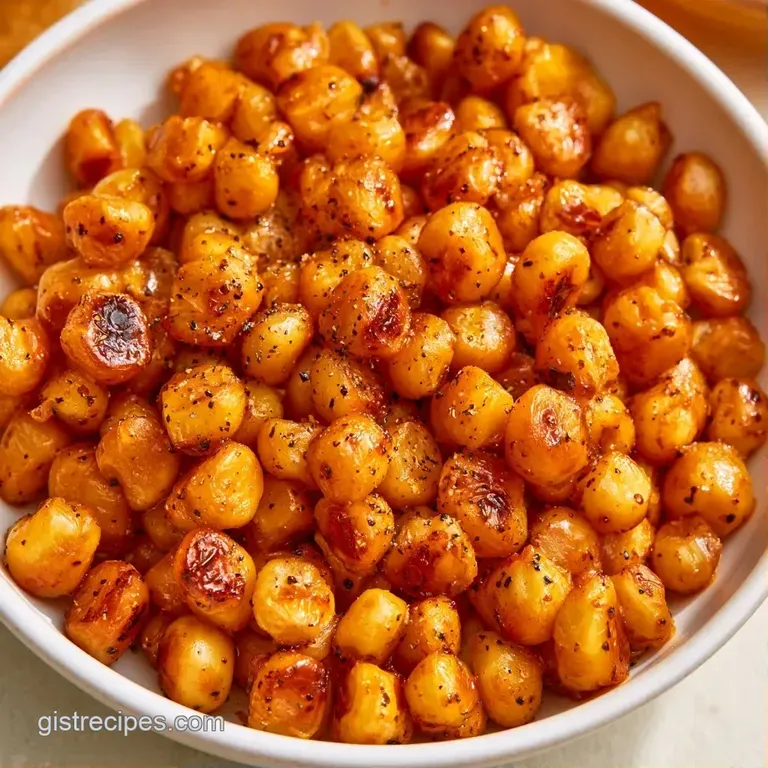
- Heat a 12 inch cast iron skillet over medium high. Add the olive oil and butter, swirling them until the butter melts and starts to foam. Note: Foaming indicates that water is evaporating, which allows browning to begin.
- Pour in the corn kernels and spread them in a single even layer. Leave them undisturbed for 2–3 minutes until deep brown, caramelized spots develop.
- Gently stir the corn every so often. Continue to cook until the kernels are fragrant and golden brown.
- Lower the heat to medium.
- Mix in the minced garlic, salt, and black pepper.
- Cook for 60–90 seconds until the garlic is aromatic but not browned.
- Remove the skillet from the heat immediately. Note: Garlic burns quickly; removing it from the heat halts the cooking process.
- Finish by stirring in the lemon juice and fresh parsley.
Fixing Common Issues
Fixing Steamy Corn
If your corn is boiling in its own juices instead of browning, you've likely overcrowded the pan or the heat is too low. Use a wider skillet so the kernels aren't piled on top of each other. If you're using frozen corn, don't thaw it. Adding frozen kernels to a hot pan actually helps them sear faster before the insides overcook. If you struggle with moisture, you might enjoy the drier texture of Corn on the Cob.
Preventing Bitter Garlic
Garlic is the most fragile part of this Skillet Corn recipe. If it turns dark brown or black, it will taste bitter and ruin the butter. Always add it at the very end and remove the pan from the heat the second the aroma hits you.
If you accidentally burn the garlic, you can't "un burn" it, so it's better to wipe the pan and start the garlic step over.
Managing Pan Overcrowding
When you put too much corn in a small pan, the temperature drops instantly. Instead of searing, the corn steams. If you're doubling the recipe, cook the corn in two batches. Get that brown crust on the first half, move it to a bowl, and then do the second half. Combine them at the end with the garlic and lemon.
| Goal | What to change |
|---|---|
| Extra Smokiness | Add 1/2 tsp smoked paprika |
| More Heat | Add diced fresh jalapeños |
| Creamier Vibe | Stir in 1 tbsp cream cheese |
Storage And Reheating
Keep any remaining Skillet Corn in an airtight glass container. It will remain fresh in the refrigerator for approximately 3 days. To prevent a mushy texture, wait to stir in the fresh parsley until you are serving the leftovers.
For freezing, ensure the corn has cooled entirely before placing it in bags. It can be stored for about 2 months. To reheat, avoid the microwave; instead, toss the corn into a hot skillet for 3-5 minutes. This restores the toasted taste and ensures the kernels don't turn rubbery.
Don't throw away the empty corn cobs after cutting off the kernels. Simmer the bare cobs in a pot of water with onion scraps to create a simple corn stock, which provides a sweet, savory foundation for various soups.
Tasty Corn Variations
You can easily pivot this into a Mexican Skillet Corn by swapping the parsley for cilantro and the lemon for lime. To take it further, stir in a pinch of chili powder and some crumbled cotija cheese right before serving. If you love that style, you should definitely try making a Mexican Street Corn Dip for your next party.
For a richer version, try Skillet Corn with Cream Cheese. Once you remove the pan from the heat, stir in a tablespoon of full fat cream cheese. It creates a rich, smooth sauce that coats the charred kernels.
If you want something more rustic, add some diced pancetta or bacon at the very beginning. Render the fat first, then add the butter and corn. The salty pork fat adds a layer of depth that pairs perfectly with the sweet corn.
What To Serve With
This dish is a versatile side. It pairs well with grilled steak or roast chicken because the acidity of the lemon cuts through the heavy proteins. If you're doing a vegetarian spread, serve it alongside roasted sweet potatoes and a crisp arugula salad.
For a full summer feast, put this Skillet Corn on a platter with some grilled shrimp and avocado slices. The contrast of the hot, charred corn and the cool avocado is a winner.
Because this dish is so fast, it's the perfect "gap filler" when your main course needs another ten minutes in the oven. Just toss the kernels in, sear them, and you've got a restaurant style side ready in minutes. Trust me, once you stop boiling your corn, there's no going back.
This Skillet Corn is the only way to do it.
Recipe FAQs
What is the total cooking time for skillet corn?
Cook for about 10 minutes. Sauté the kernels on medium-high heat, letting them sit undisturbed for 2–3 minutes to caramelize before stirring until golden brown.
Is skillet corn the same as cream corn?
No, and here's why. Skillet corn is sautéed to achieve a charred, toasted texture, while cream corn is a creamy porridge made with milk or cream.
How to make Mexican corn from a can?
Sauté the canned kernels in butter and olive oil over medium-high heat until charred. Finish with garlic, salt, pepper, and lemon juice; for a more authentic version, try our Mexican Street Corn.
Does steak go well with corn?
Yes, it is a classic pairing. The buttery, charred sweetness of the corn balances the savory, rich notes of a seared steak perfectly.
Skillet Corn in 15 Minutes