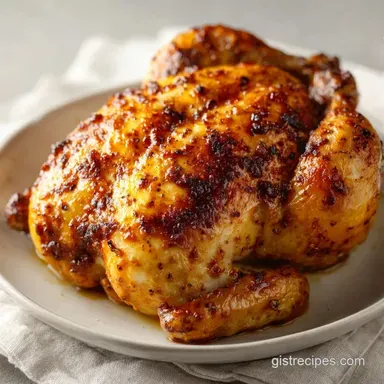
Easy Baked Chicken Breast: Tender and Juicy
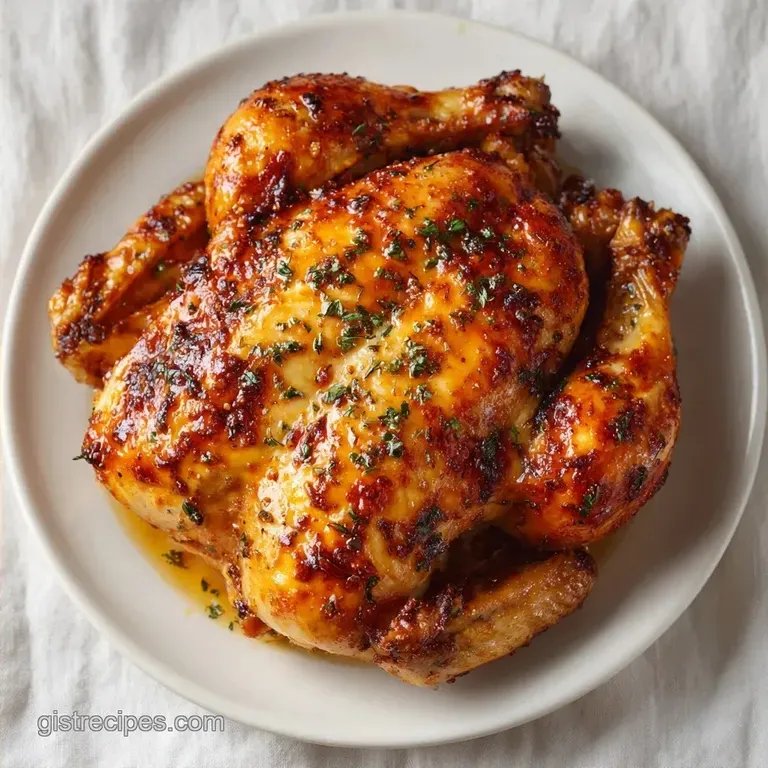
- Time: 5 min active + 20 min bake
- Flavor/Texture Hook: Mahogany crust with a velvety, tender center
- Perfect for: Weeknight dinners or healthy meal prep
The scent of roasted paprika and garlic hitting a hot oven is, for me, the smell of a Sunday afternoon at my grandma's house. She didn't use fancy gadgets or complicated techniques, just a few pantry staples and a lot of patience.
In her kitchen, chicken wasn't just a protein, it was the center of the family table, usually surrounded by a mountain of mashed potatoes and green beans.
For a long time, I thought you had to choose between "fast" and "juicy." I spent years eating chicken that felt like chewing on a rubber band because I was terrified of undercooking it. But once I stopped guessing and started using a thermometer, everything changed.
The goal here is an Easy Baked Chicken Breast that doesn't require you to stand over a stove for an hour. We're aiming for that deep golden color on the outside and a tender, moist interior that actually lets you taste the seasoning.
Easy Baked Chicken Breast
The secret to this recipe is the "blast" method. Instead of baking the meat at 325°F for an hour, we crank the heat up to 400°F. This cooks the meat quickly, which prevents the juices from evaporating.
It's the difference between a piece of meat that's just "cooked" and one that's actually tender.
When you use a higher temperature, you create a quick sear on the exterior. This doesn't just look better, it traps the moisture inside. I've found that this is the only way to ensure the meat doesn't turn into cardboard, especially when you're using boneless breasts which have very little fat to protect them from the heat.
Most people make the mistake of taking the chicken straight from the fridge to the pan. If you can, let it sit out for about 15 minutes. This takes the chill off and helps the meat cook more evenly.
If the center is ice cold while the outside is hitting 400°F, you'll end up with overcooked edges and a raw middle.
How to Actually Nail This
Getting the texture right isn't about luck, it's about a few simple rules of heat and moisture.
Surface Dryness: Water on the surface of the meat turns to steam, which prevents browning. Patting the chicken dry ensures the oil and spices stick, creating a crust.
Heat Conductivity: Olive oil isn't just for flavor. It helps the heat move from the baking sheet into the meat more efficiently, which speeds up the browning process.
Carryover Cooking: The meat continues to cook after you take it out of the oven. Pulling it at 160°F allows it to rise to the safe 165°F mark without drying out.
Juice Redistribution: When meat cooks, the fibers tighten and push juices to the center. Resting allows those juices to flow back to the edges.
| Method | Bake Time | Texture | Best For |
|---|---|---|---|
| Fast (High Heat) | 20 mins | Juicy & Seared | Weeknights |
| Classic (Low Heat) | 45+ mins | Uniform & Soft | Slow roasts |
Component Analysis
Understanding why we use these specific ingredients helps you make better choices when you're missing something in the pantry.
| Ingredient | Science Role | Pro Secret |
|---|---|---|
| Olive Oil | Heat Transfer | Use a high smoke point oil for better searing |
| Paprika | Color/Aroma | Use smoked paprika for a "grilled" taste |
| Garlic Powder | Flavor Depth | Powder sticks better than fresh minced garlic |
| Kosher Salt | Moisture Draw | Large grains dissolve slower, seasoning more evenly |
Ingredients
I keep these basics on hand at all times. You don't need a spice rack the size of a bookshelf to make this work.
- 1.5 lb boneless skinless chicken breasts Why this? Standard size for even cooking times
- 2 tbsp olive oil Why this? Helps the spices stick and browns the meat
- 1 tsp kosher salt Why this? Enhances all other flavors
- 1/2 tsp cracked black pepper Why this? Adds a slight bite and warmth
- 1 tsp garlic powder Why this? Provides a savory base without burning
- 1 tsp paprika Why this? Gives that mahogany color
Ingredient Swaps
| Original Ingredient | Substitute | Why It Works |
|---|---|---|
| Olive Oil | Avocado Oil | Higher smoke point. Note: Neutral flavor |
| Paprika | Cayenne | Adds heat. Note: Use half the amount to avoid too much spice |
| Kosher Salt | Sea Salt | Similar mineral profile. Note: Adjust quantity as sea salt is denser |
Equipment Needed
You don't need a professional kitchen for this, but a few specific tools make the process a lot smoother. I personally use a rimmed baking sheet because it catches the oil and prevents my oven from smoking.
Parchment paper is a must. It stops the chicken from sticking and means you spend zero time scrubbing the pan afterward. If you don't have parchment, a light coating of oil on the pan works, but it's not as clean.
The most important tool is a digital meat thermometer. If you're guessing based on how the meat "looks" or "feels," you're gambling with your dinner. A cheap instant read thermometer is the only way to guarantee you don't overcook the meat.
The Cooking Process
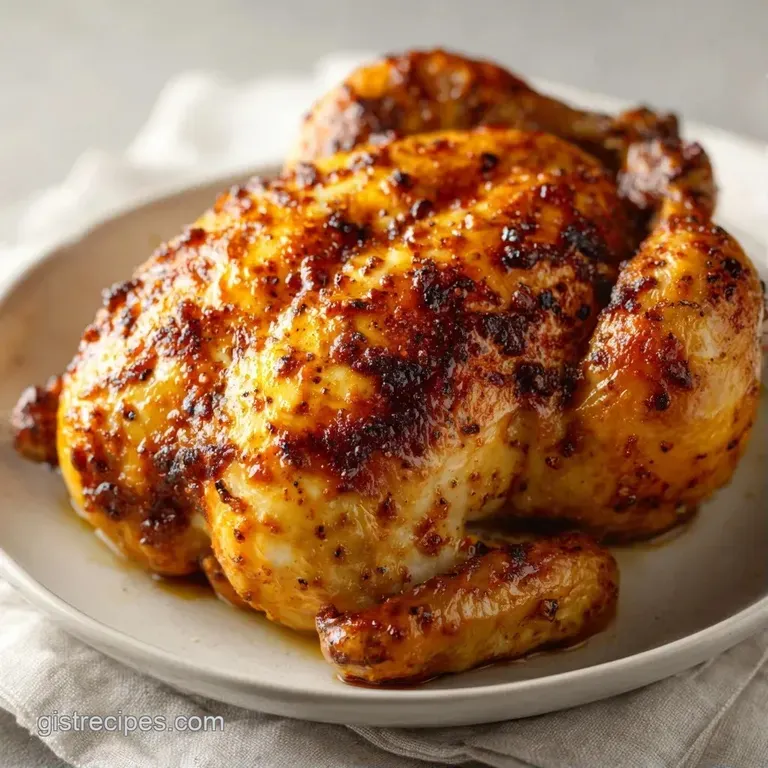
Let's get into it. Follow these steps, and you'll stop worrying about dry chicken forever.
- Preheat your oven to 400°F (200°C). Note: Make sure the rack is in the center for even airflow
- Pat the chicken breasts dry with paper towels until the surface is completely matte. Note: This is the secret to the brown crust
- In a large mixing bowl, toss the chicken with olive oil, kosher salt, cracked black pepper, garlic powder, and paprika.
- Massage the spices into the meat until every inch is evenly coated. Note: Don't leave any bald spots
- Arrange the seasoned chicken on a parchment lined rimmed baking sheet. Note: Leave space between the breasts so they don't steam each other
- Bake for 18-22 minutes until the edges are deep golden brown.
- Check the internal temperature with a thermometer until it reaches 160°F (71°C). Note: Pull them out immediately at 160°F
- Transfer the chicken to a plate.
- Tent loosely with foil and let the meat rest for 5-10 minutes until the juices settle.
Chef's Note: If your chicken breasts are very different in thickness, use a meat mallet to pound the thicker end. This ensures the whole piece finishes cooking at the same time.
Avoiding Kitchen Disasters
Even the simplest recipes can go sideways if you're not paying attention. Most chicken failures come down to temperature or moisture.
Troubleshooting Common Issues
| Issue | Solution |
|---|---|
| Why Your Chicken is Dry | This usually happens because the meat stayed in the oven too long. |
| Why Your Chicken is Pale | If your chicken looks grey or white instead of golden, it's probably because the meat was damp when it went into the oven. |
| Why the Middle is Raw | This is common with very thick breasts. The outside looks done, but the center is still pink. This is why pounding the meat to an even thickness is so helpful. |
Common Mistakes Checklist
- ✓ Used a meat thermometer instead of guessing
- ✓ Patted the chicken completely dry
- ✓ Let the meat rest before slicing
- ✓ Spaced the breasts apart on the pan
- ✓ Preheated the oven fully before sliding the pan in
Flavor Variations to Try
Once you have the base method down, you can play around with the flavors. The beauty of this Easy Baked Chicken Breast is that the oil and spice rub works with almost anything.
The Lemon Garlic Version Swap the paprika for lemon zest and add a tablespoon of melted butter to the oil. After baking, squeeze fresh lemon juice over the top. This pairs great with my Classic House Salad for a light, fresh meal.
The Spicy Chipotle Twist Replace the paprika with chipotle powder and add a pinch of cumin. This gives the meat a smoky, earthy heat that's great for tacos or bowls.
The Herb Crusted Style Mix in dried oregano, thyme, and rosemary. For an extra crunch, sprinkle a little parmesan cheese on top during the last 5 minutes of baking. If you want something more hearty, you can serve this alongside some Lemon Chicken Orzo.
Dietary Adjustments For a Keto or Low Carb version, this recipe is already there. Just ensure your garlic powder doesn't have added cornstarch or sugar. If you want a "saucy" version, don't add the sauce before baking, as the sugar in most sauces will burn at 400°F.
Instead, brush the sauce on during the last 5 minutes of cooking.
Adjusting the Batch Size
Cooking for one is different than cooking for a crowd. You can't just multiply everything and hope for the best.
Scaling Down (1-2 breasts) Use a smaller baking sheet so the oil doesn't spread too thin and burn. Reduce your bake time by about 20%, but always rely on the thermometer rather than the clock.
Scaling Up (4+ lbs) Don't crowd the pan. If the chicken breasts are touching, they will steam instead of sear, and you'll lose that mahogany crust. Work in batches or use two separate pans. For the spices, only increase them to 1.5x.
You don't need a linear increase in salt and pepper for larger batches.
Baking Large Quantities If you're filling a large roasting pan, lower the temperature to 375°F (190°C) and extend the time. This prevents the outer pieces from burning before the center pieces are safe to eat.
Kitchen Myths
There are a lot of old wives' tales about cooking chicken. Let's clear a few up.
Myth: Searing "seals in" the juices. Searing is for flavor and color, not for moisture. Moisture loss happens regardless of whether you sear the meat or not. The crust just makes it taste better.
Myth: You can tell chicken is done by the color of the juices. While clear juices are a good sign, they aren't a guarantee. Some chicken remains slightly pink even when it's safely cooked. Trust the thermometer, not the juice.
Storage Guidelines
If you have leftovers, don't just throw them in a container. Let the meat cool slightly first so you don't trap too much steam, which can make the meat soggy.
Fridge and Freezer Store in an airtight container for 3-4 days in the fridge. For the freezer, wrap each breast tightly in foil and then place them in a freezer bag. They'll stay good for about 3 months.
The Best Reheat Method Avoid the microwave if you can. It vibrates the water molecules, which often turns the meat into rubber. Instead, put the chicken in a pan over medium low heat with a splash of water or broth. Cover it with a lid for 3-5 minutes.
The steam will gently warm the meat without drying it out.
Zero Waste Tips Don't toss the parchment paper if it only has a little oil and spice on it use it to grease another pan. If you used bone in breasts for a different variation, save those bones in a freezer bag.
Once you have a few, simmer them with carrot and celery for a simple, homemade stock.
Recipe FAQs
How to bake chicken breast in the oven so it's not dry?
Use a meat thermometer to pull the chicken at 160°F (71°C). Let the meat rest for 5-10 minutes under foil to redistribute juices before slicing.
Is it better to bake chicken at 350 or 400 in the oven?
Bake at 400°F (200°C). This higher temperature ensures a mahogany colored exterior and juicy interior without overcooking the center.
Can a diabetic eat baked chicken?
Yes, baked chicken is an excellent choice. This recipe uses lean protein and simple spices without added sugars or processed carbohydrates.
What is the fastest way to bake chicken breast?
Preheat your oven to 400°F and bake for 18-22 minutes. Pounding the meat to an even thickness also ensures it cooks quickly and uniformly.
What's a great, but simple, chicken breast recipe?
Toss chicken with olive oil, salt, pepper, garlic powder, and paprika. If you enjoyed the simple seasoning technique here, see how we use similar bold flavors in our Hawaiian chicken.
Baked chicken breast recipes with sauce?
Brush on a glaze or serve with a dipping sauce. This pairs beautifully with a creamy base, similar to the textures in our winter hummus bowl.
Why is my baked chicken pale?
Pat the chicken dry with paper towels before seasoning. Damp meat steams instead of searing, which prevents the edges from turning deep golden brown.
Easy Baked Chicken Breast